You are on the verge of creating a dynamic display/static ad with Storyteq technology. Great! In order for us to successfully turn your master design into a template on the Storyteq platform, it needs to meet some requirements.
The presentation file shared below will show you all the in-depth requirements for delivering your project files. You can also download PSD files as examples below:
Click here if you want to review and download the presentation file.
In order for us to successfully template your static image or display banner design, we need your project files to meet some requirements.
1. Organize your project before delivering.
-
To template the project as accurately as possible, we require a source file of the creative - preferably the PSD file.
-
This means a project file of the final, approved template design with layered elements in high resolution/ quality.
-
Make sure that the provided footage is in RGB (not set to CMYK)
-
Storyteq’s Template Builder does not support 16-bit images, so please ensure that
PSDfiles are converted to 8-bit depth. -
Make sure to give clear names to layers and/or scenes.
E.g., Scene 1; Background 1; Company Logo White, etc. Preferably, give them names that match the briefing (so we know what’s what). -
Remove anything that isn’t used to avoid confusion, including hidden layers that aren’t used.
-
We’ll be using one final PSD file per template in our platform.
2. Sizes and/or Scenes
-
If the template needs multiple sizes, you can deliver all sizes together in one PSD file.
-
We will use the names of the artboards as the name of the sizes in the template (see image to the right). E.g., if the artboard is named
300x250, the name of the size in Storyteq will reflect that. -
If the template is a banner template or a video template based on animated static elements, and it needs to have multiple scenes, please make sure to have a distinction between scenes in the layers panel, as done with groups in the image on the right.
3. Placement of dynamic texts and images
Give clear instructions on where dynamic text and image layers can go by adding rectangles or guides to your project.
-
Rectangle:
Create a shape by using the rectangle tool. Turn off the fill and only leave the stroke(1). -
Guides:
You can also add guides. Or create a rectangle and turn that shape into guides. Go to View in the Top Bar > Select “New Guides from Shape”(2).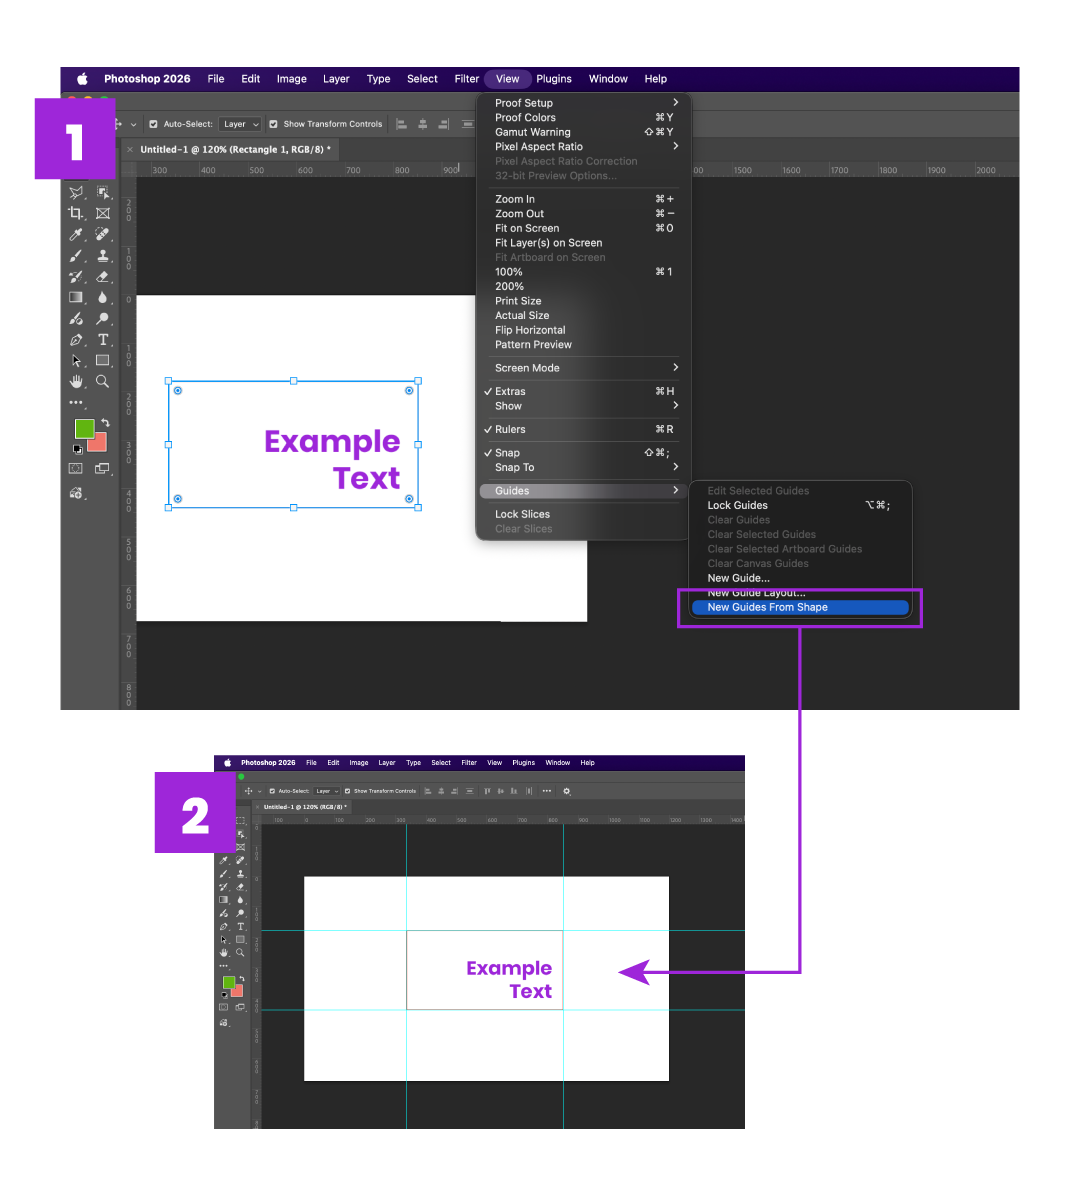
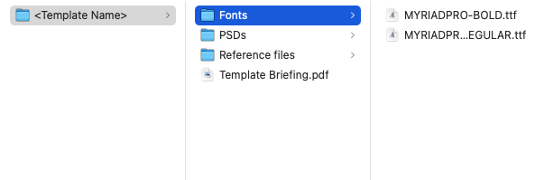
4. Additional files
-
Font-files:
If your project has custom fonts, please don't forget to send those as well. Preferably deliver fonts in.ttfor.woffformats. -
Animations references (banner/video templates only):
If your future template includes animations, we need references so that we can recreate them as close as possible to the original.
Preferably, a video example (mp4) per size or at least of main sizes (e.g., vertical -300x600and horizontal -970x250).
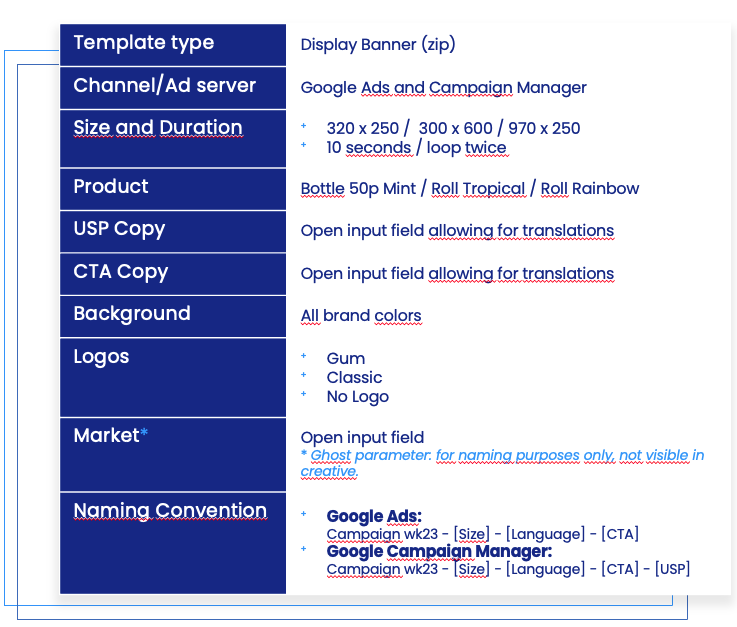
5. Provide a template briefing and naming convention.
Here, you can find a document to use as a base to create your briefing, and please keep in mind the following suggestion:
-
Provide a clear template briefing that lists all adjustable elements. What should be adjustable via the Storyteq platform? Use the Storyteq Briefing Form that your Project Manager handed to you. This will allow us also to add channels and naming conventions.
6. Combine all files and send them over.
Combine all of your materials into a single folder before sending it over to us.
-
Put different types of files in separate folders.
E.g. Fonts, PSD files, Reference files. -
Include the Template Briefing in the main folder.
-
Do not include files from other projects that are not relevant to the current project.