
You are on the verge of creating a dynamic print template with Storyteq technology. Great! In order for us to successfully turn your master file into a Print template on the Storyteq platform, it needs to meet some requirements.
This article will show you all the requirements for delivering your Print project files.
1. The brief
Our main aim on all template builds is to get it right the first time and to keep amends to a minimum. This requires an accurate, detailed marked up PDF brief, which will remove the need for us to query or guess anything.
The brief is the most important part of any template build. On manual asset creation, the main consideration is usually how it looks. The templates we build are able to move and respond to the user’s controls, so not only do we need to consider how the template looks, but most importantly, how the template reacts.
This is your opportunity to tell us exactly what you want us to build and how you want it to work. The better the quality of information we receive, the more chance we have of getting it right the first time.
A good brief will feature the following:
-
Artwork master files in Indesign
-
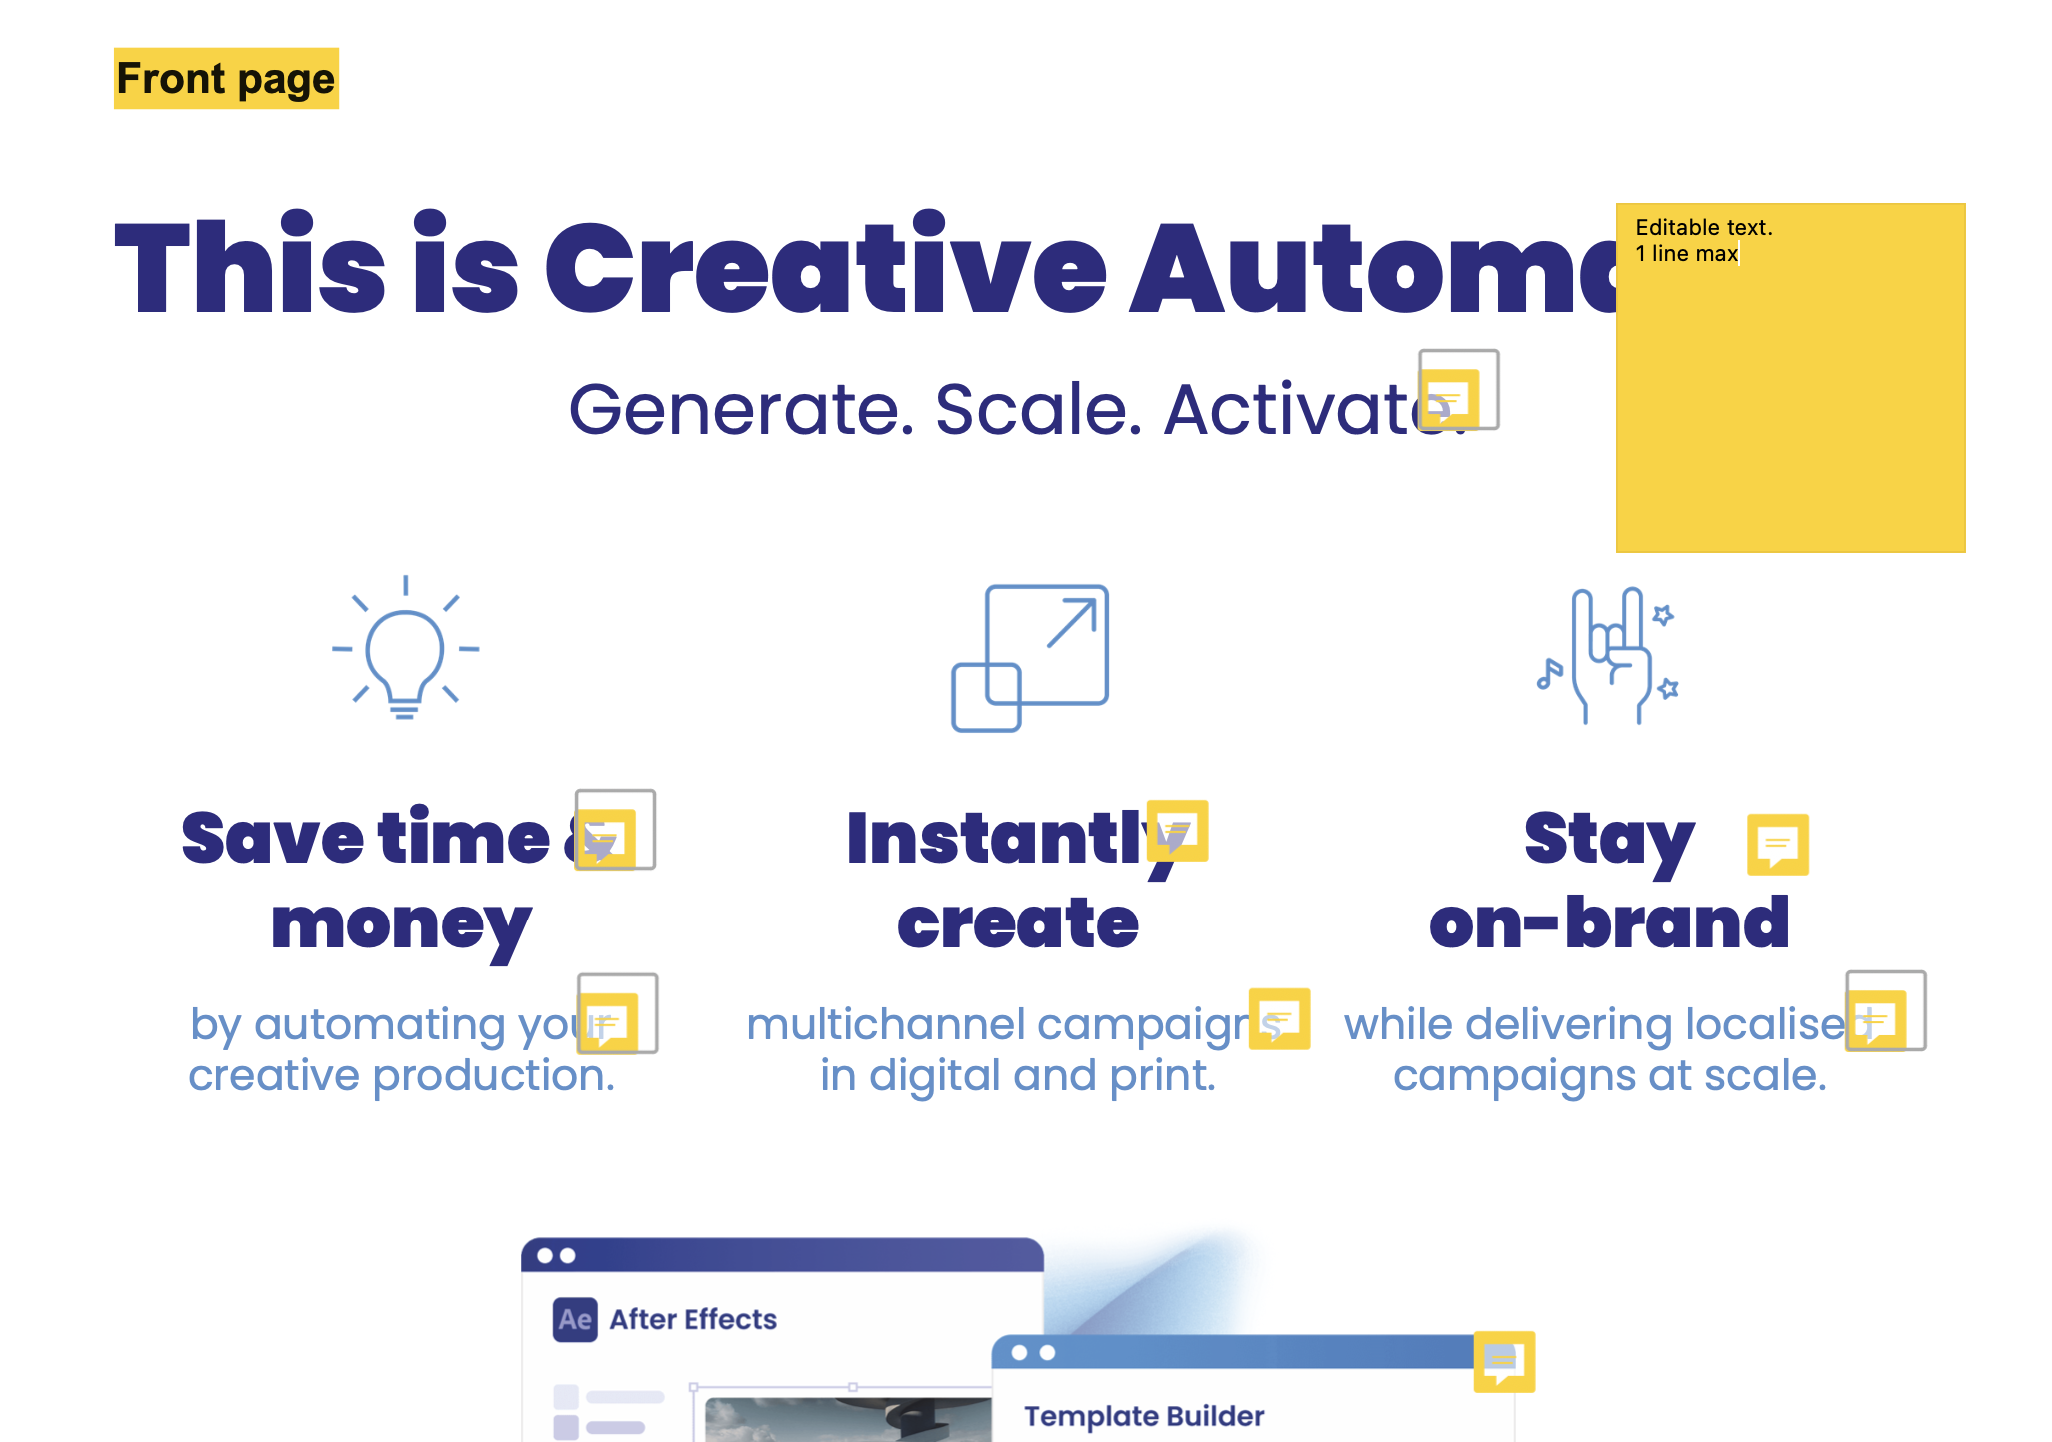
Information on which areas of the supplied artwork need to be editable
-
Maximum character counts for any editable text areas
-
Information on the functionality required, e.g., selectors, toggles, image/date pickers
Here are some brief examples:
|
|
Clicking below, you can also find a brief example in PDF:
2. InDesign Artwork files
To build a print template, we require all artwork layout files to be supplied in InDesign. We have a set of scripts that we run to extract information from InDesign artwork, such as color information/breakdowns, image/text positioning, etc. They speed up the template creation process and allow us to build more quickly.
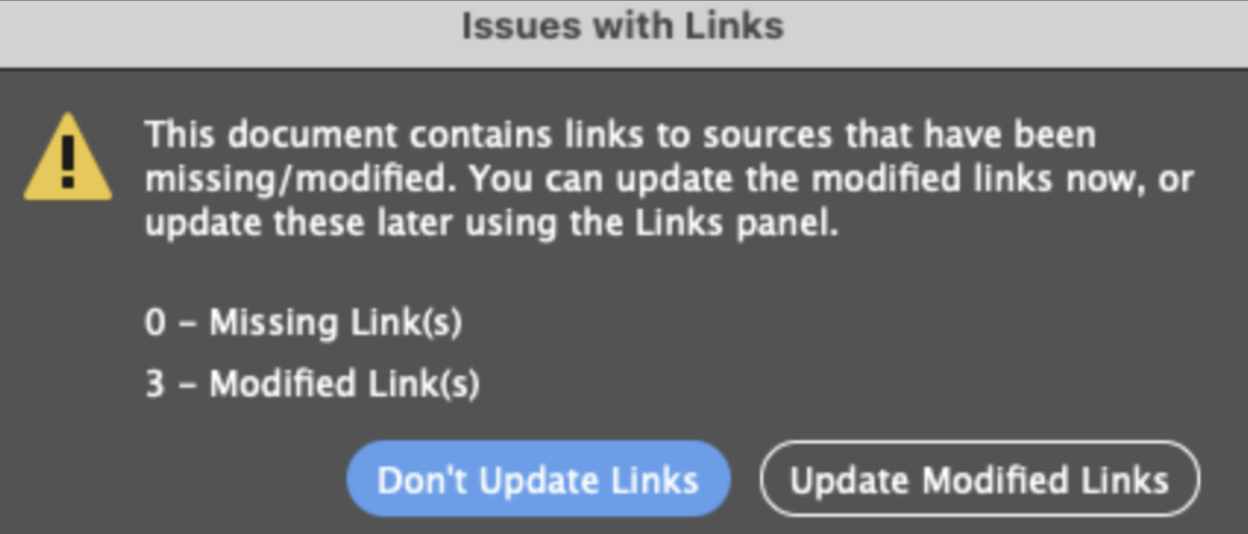
When collecting your InDesign files for us, please make sure all layers are linked correctly and all asset links are updates before sending them over. We’d like to prevent this pop up:
If you click here you can find example InDesign files matching our delivery specs.
3. Images
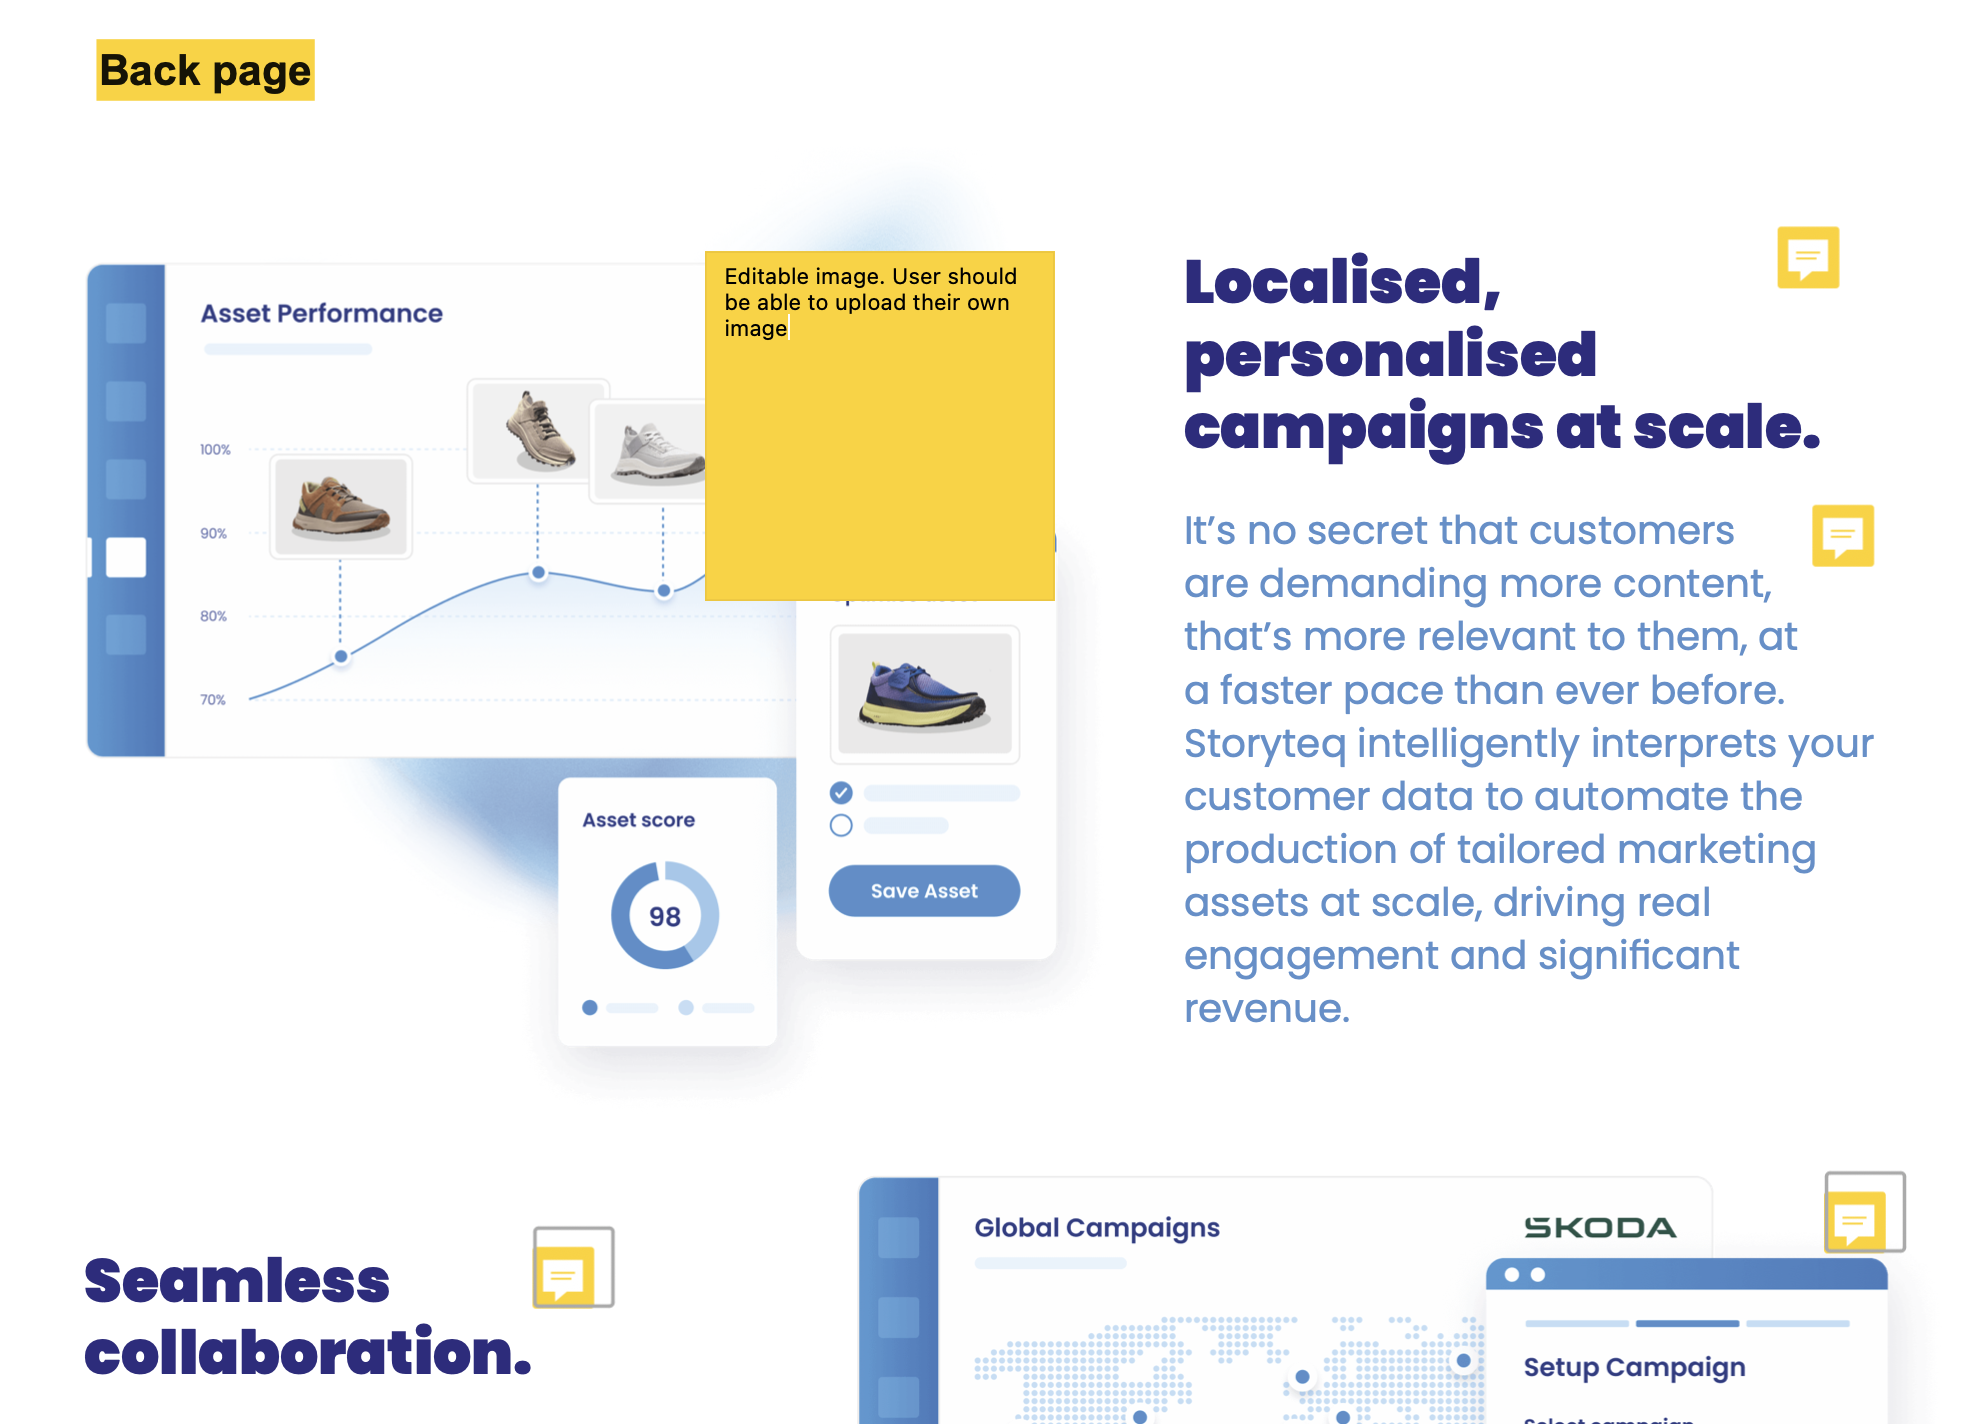
All images should be hi-res and positioned within the artwork to allow sufficient bleed. All logos should be supplied as vectors wherever possible to allow them to be used in various sizes. If different images/logos are required for selection, they need to be supplied in position on separate layers.
4. Text
Any editable text must be set up as a solid color. No patterns or vignettes.
If different headlines/copy are required for selection, they need to be supplied in position on separate layers.
5. Fonts
All fonts for editable areas should be licensed and available on Universal Type Client for us to work with. For Print templates, we are unable to work with Adobe Fonts for an editable copy as we need an actual font file to upload to Storyteq. If fonts are not available on Universal Type Client, they will need to be purchased via our studio and this might come with extra costs.
6. Extra information
Additional points for studio reference...
-
With the exception of cutter guides, please ensure that no elements are set to overprint.
-
If more than one layout is required, e.g., 1, 2, or 3 logos, we’ll need an example of each layout to work to.
-
Please always provide an example copy for us to work with.
-
Ensure ‘Redefine Scaling’ is greyed out on all copy and that all copy is set up at 100%
-
Avoid setting up gradients in InDesign. If possible, please add them to the image or background itself.
-
Though drop shadows can be achieved, we suggest avoiding their use unless 100% necessary.
7. Template examples
Form:
Template:
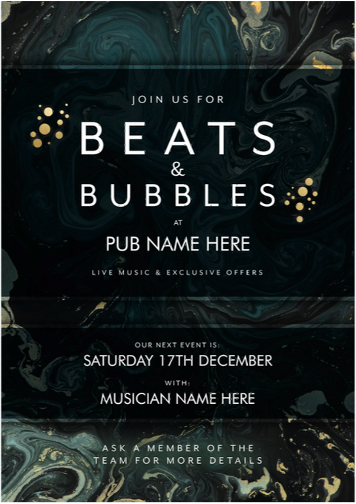
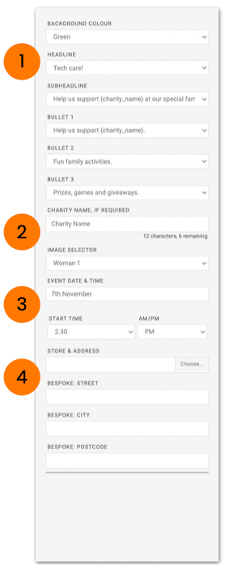
Form:
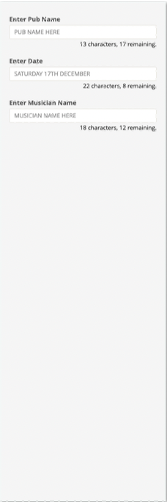
The panel on the left is known as the Adaptation Create Form. Within the template, this is where controls are positioned. This is where the user is able to edit content.
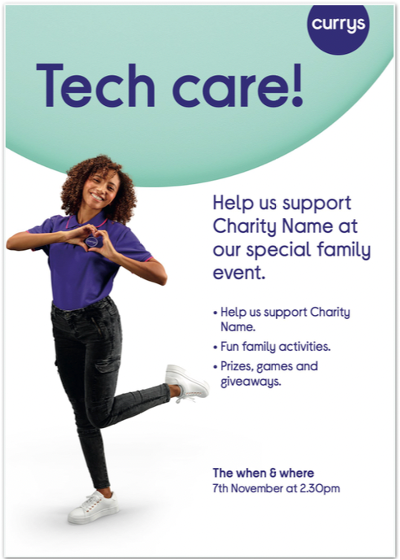
Template:
The preview on the right is known as the template. Within the template, this is where content is positioned.
Once changes are made in the form, they will automatically update and show in the preview.
Form:
Template:
Form:
Opens image in full screenOpen
Template:
Opens image in full screenOpen
The above is a more dynamic example. The user has a lot more options /interchangeable elements:
-
Dropdown selectors with preset content.
-
Free type areas for the user to enter text.
-
A date picker.
-
Contact selector (via dabatase feed).
8. Output
Most common Print outputs from our platform:
JPEG:
-
High Res
-
Low Res
PDF:
-
High Res with Crops/Bleed
-
High Res without Crops/Bleed
-
Low Res with Crops/Bleed
-
Low Res without Crops/Bleed
PNG