
You are on the verge of creating a personalized video with Storyteq technology. Great!
In order to successfully make the animation or video you are working on dynamic, it will have to meet some requirements. On this page, you will learn about the in-depth requirements for delivering your project files.
1. What is video personalization?
In order to create the best possible personalized video, it is first a good idea to get a basic understanding of what dynamic video actually is, and how we can create a dynamic video. The information below should give you some basic insight into what personal video exactly is and what possibilities you can utilize.
Get the most out of Personalization
2. Project Settings and Structure
When making your video in After Effects keep compositions in the same size and frame rate as the deliverable. This also goes for inserted compositions in tracking data. Our standard format is 1080p25.
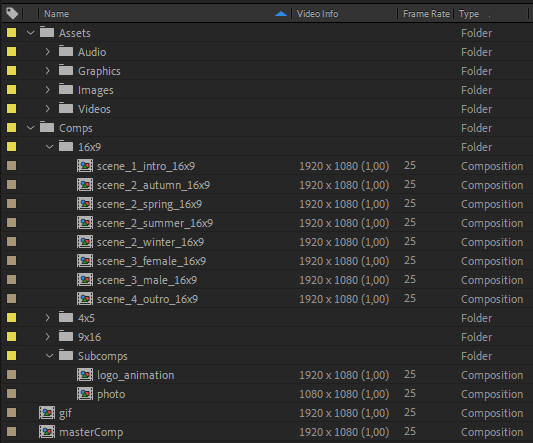
Organize your project by creating separate pre-compositions for each scene of your video.
Create a separate composition for the gif.
Create a master composition, in which all the individual scenes are put in a chronological order and all the interchangeable (modular) scenes are put above each other. This way it's immediately clear how the project is structured.
Make sure that the pre-comps are exactly as long as the final desired length of that scene. Naturally, this introduces gaps if the modules are not the same length, but our logic will make sure no gaps are present in the final renders.

For keeping the project clean we strongly advise you to organize your project in bins. Create separate bins for your footage, graphics, images, audio files, precomps etc. This will make it easy to search for elements and save time.
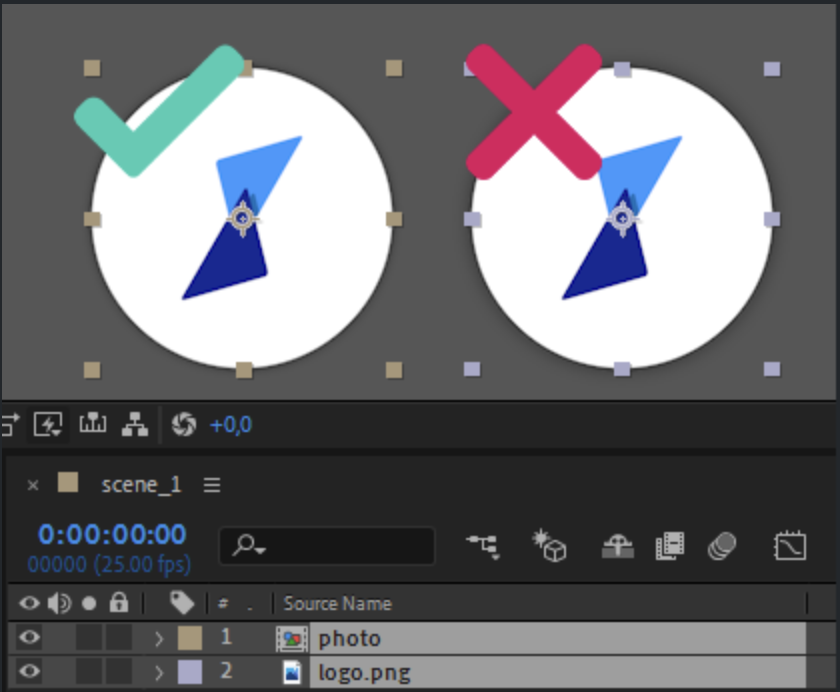
Use placeholders for personalized elements, like text or images.
Style the dynamic elements exactly the way you want the final image to look, but in the case of images apply all effects and animations on a pre-comp.
Note: Keep in mind our systems are not compatible with 3rd party plugins. Please only use native After Effects functions and effects.
3. Keep it Light (for Rendering)
In order to optimize rendering speed try to keep personalized video parts as light as possible, this means:
-
Avoid using cameras and lights, as they have a massive impact on render speed, and can often be avoided.
-
Avoid using alpha footage if it is not absolutely required. Using alpha footage as a matte/mask, for example, can easily be avoided, by using an actual mask.
-
Make sure you are using the lightest possible effects for the goal you are trying to achieve. E.g. using Fast Box Blur instead of Gaussian Blur, or a simple Brightness adjustment instead of Lumetri Color.
-
Use common sense. Don't put the same effect on the same subject multiple times. If you are applying a blur or any other effect, don't add the same effect to a pre-comp of the already blurred object. Just increase the blur on one of the layers instead of making AE calculate blurs twice.
Note: These suggestions only apply to the personalized video parts.
4. Check your text layers before delivering
Make sure the following applies to text layers that need to be dynamic in the template:
-
Dynamic text should be ‘Point text.’
-
To convert to point text:
-
Select the paragraph text box
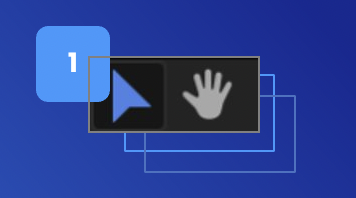
-
Select the text tool icon
-
Hover over the edge of the paragraph text box, and your cursor will change. Right mouse click – if you did it right, you will see a different context menu that has the option to convert to Point Text.

-
-
Align the text by using the character panel.
-
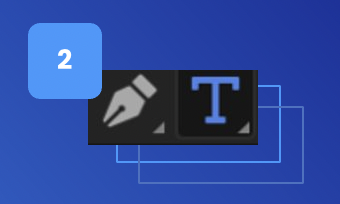
Do not adjust the line height via the paragraph pane. As shown in image 1, Leave all paragraph indents at 0.
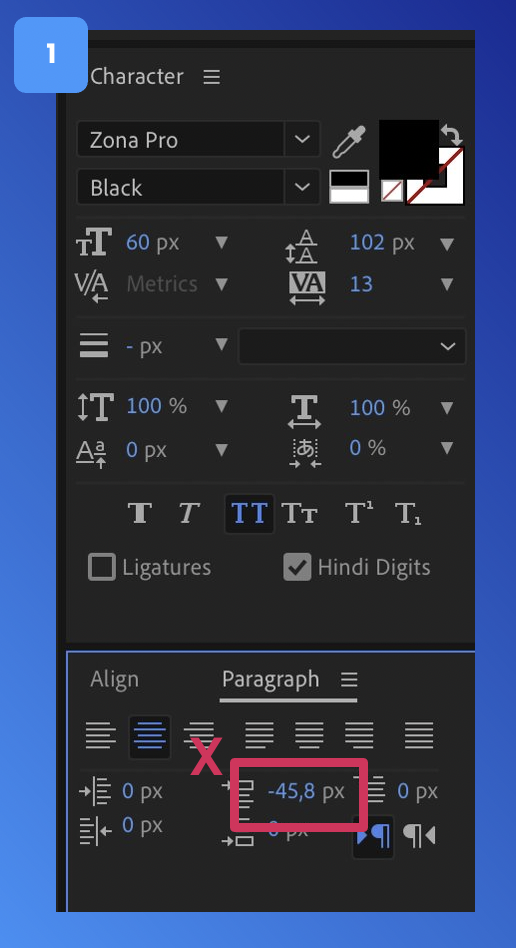
-
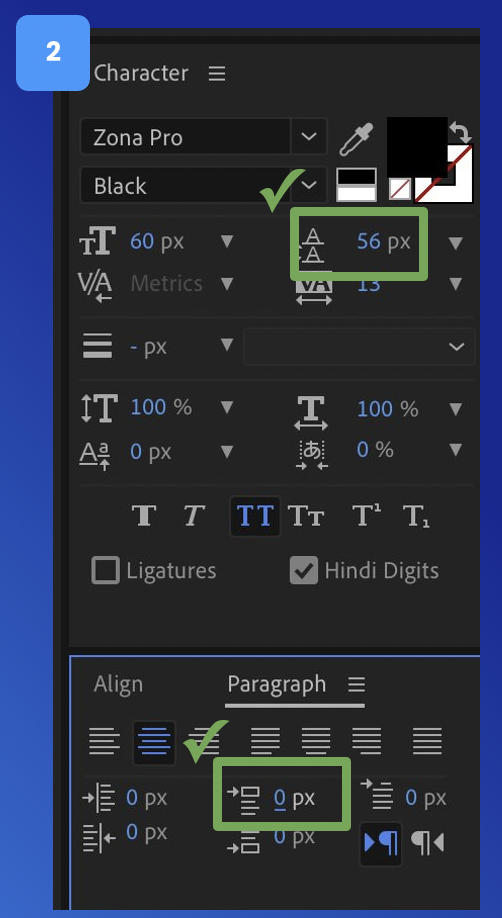
Instead, adjust the line height in the Character panel.
-
-
Make sure the font is scaled to 100%
-
If you need to scale up or down, please use the font size.
-
Make sure the font size is set at the largest font size that can be used (by default, we will only scale down the font size to make the text fit within the boundary box).
-
-
This is how the Text Scaling will look in the Storyteq Platform:
5. Audio
If you want to have an audio track playing in the background of your video, keep it separate from all the scenes. We can add your soundtrack when rendering the videos, so that it can play seamlessly despite varying video durations.
We don’t have any specific audio specifications for After Effects projects. We can work with all common audio files, .wav files would be best.
More high-end audio post-processing specific file types are not compatible with our systems.
6. Tracking
Our render farm does not support the use of 3rd party plugins, so please refrain from using them.
For tracking we prefer using Mocha and its exported corner pin data. This is the lightest method of tracking and masking and is relatively easy to achieve. Please consider using this method.
Don't forget to try and keep the composition on which you apply the tracking data roughly the same size as your final output. We want to eliminate unnecessary scaling.
7. Delivery
Export your AE project using ‘Collect Files.’ You can do a ‘Collect Files folder’ per project/template also:
-
Use AE’s built-in function ‘Collect Files’ to create a neatly bundled package.
-
Select the right comps and then collect them with the option ‘Reduce Project.’
Font files
-
The “Collect Files” function does not include the custom fonts that are used in the project. Make sure to include all used font files when delivering the collected files (e.g., ttf, otf)
-
If special character sets are needed for localization (e.g., Cyrillic or Arabic), also provide these extra fonts.
Reference files
-
Also, make sure to include rendered reference videos (mp4), as this gives us a clear understanding of the expected outcome.
Provide a clear Template Briefing:
List all dynamic (adjustable) elements: durations, sizes, scenes, uploadable images, audio, text fields, etc. What should be adjustable via the Storyteq platform, and are there any ‘rules’ we need to implement?
Combine all your materials into a single folder, then send it over to us.
-
Put different types of files in separate folders within the main folder, as shown in the image. Make sure to include:
-
The Collect All
-
Fonts
-
Reference Files
-
Template Briefing
-
-
Do not include files from old/future/other projects that are not relevant to the current project.
8. Summary
-
Visualize your project
Which parts are dynamic, personalized, modular, or static? -
Make sure all comps are in the same size/frame rate - even the ones with tracking applied.
-
Structure your project in a chronological master comp where all scenes are shown chronologically.
-
Create a separate comp for your gif.
-
Keep things organized. Use bins and a logical composition structure so that we can see what's going on.
-
Use placeholders for personalized texts and images.
-
Keep effects light in the dynamic/personalized video parts.
-
Track using compatible methods, preferably Mocha.
-
Keep masking simple. Avoid using alpha footage as a matte.
-
Reduce and collect your project.
-
Add the font files to your collection.
-
You are done!